PIONEER DDJ-SP1
SETUP
Step 1. Connections
Connect the DDJ-SP1 with your computer using the provided USB cable.
Step 2. Drivers
No Drivers are required to be installed on both Windows and Mac OSX
Update the firmware of the unit to the latest available version from https://www.pioneerdj.com/en/support/software/ddj-sp1/#firmware-update
Step 3. VirtualDJ
Start VirtualDJ and login with your Account credentials. A Pro Infinity, Pro Subscription or Plus DDJ-SP1 Controller License is required.
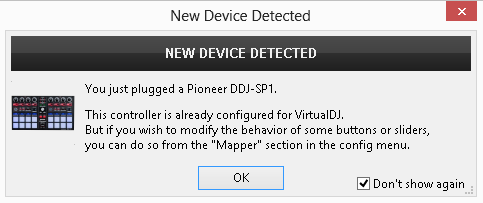
Detection Window
Click to OK
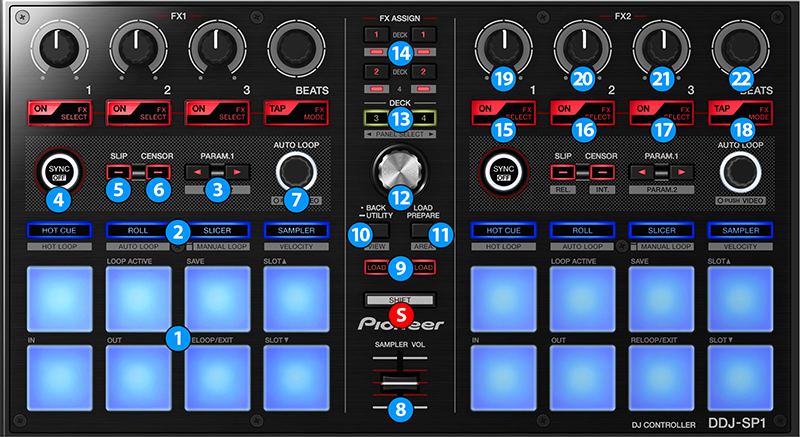
CONTROLS
KEY
ACTION
SHIFT (SECONDARY) ACTION
See Pads in VirtualDJ manual
See Pads in VirtualDJ manual
See Pads in VirtualDJ manual
See Pads in VirtualDJ manual
Push to ....
Multi FX mode: Enable/disable Effect (Slot 1)
Multi FX mode: Select next available Effect for Slot 1
Multi FX mode : Enable/disable Effect (Slot 2)
Multi FX mode : Select next available Effect (Slot 2)
Multi FX mode : Enable/disable Effect (Slot 3)
Multi FX mode : Select next available Effect for Slot 3
Multi FX mode : Adjust 1st FX Parameter (Slot 1)
Multi FX mode : Adjust 2nd FX Parameter (Slot 1)
Multi FX mode : Adjust 1st FX Parameter (Slot 2)
Multi FX mode : Adjust 2nd FX Parameter (Slot 2)
Multi FX mode : Adjust 1st FX Parameter (Slot 3)
Multi FX mode : Adjust 2nd FX Parameter (Slot 3)
not all Effects are Beat-aware
VIDEO MODE
Pioneer DDJ-SP1 features a special Video Mode for the upper part of it's controls to help you mix videos more efficiently.
When enabled, the FX1 and FX2 unit controls will control the Video Transitions and Video Effects respectively.
In order to access the Video Mode, hold down SHIFT button and press the LOOP encoder (7) down.

KEY
ACTION
SHIFT (SECONDARY) ACTION
